USD Asset Creation
In this blogpost on asset creation using USD we are going to look at shading also known as the Look of the asset.
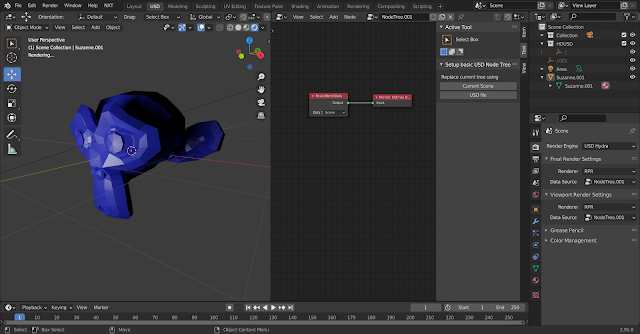
To do this I am going to be using blender(cos free) and the RpR Hydra Addon also free...
Once you have that up and running it should look something like this:
You can also hook up NXT with blender if you want. BlenderAddon
Eventually we will use this workflow to build our USD assets in a more "artist" friendly manner. For now lets look at what we need to do USD wise to add in shading.
Sixth Layer (Payload look)
Adding in the payload for the look could not be simpler in NXT.
1. Create a new layer above the modelingsublayers layer
2. Instance the whole of the model payload(orange circle) onto this new layer and add it into your graph as shown in image below
3. Edit your new payload instance to save out as the look.usda stub(all the nodes that are yellow have been edited)
4. Save out the new look.usda(take note that it is not parented under the model save-purple node- it is a sibling)
Front places the assets path at the top of the payload list, Back places at the bottom of that list.
Something you can also do is place the model payload under the model def and the look payload under the look def, instead of in the same list as shown in images below.
So that you can list edit those separately from each other.
Something like this:
To do this I swapped the child order of when the payload gets made vs. when the model and look definition gets created:
This post is getting pretty long, in the next post we will examine the look sublayers and what we can build for those.


3 comments:
Hey Sue,
very cool tutorial series. Are you still planing to continue this ride? And how about the last state of your git project? Do you plan to release it once more?
Looking forward for upcoming things :D
hey hey, I do plan to continue just been super busy last year. :D Thanks for your interest
Great I am looking forward to this :D
Could you update the link to the git repo in the meanwhile? :)
Post a Comment